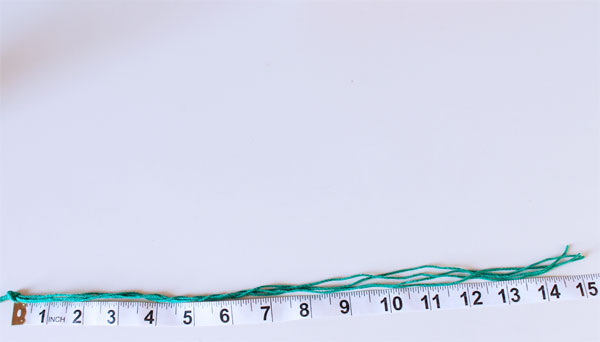
I purchased waxed hemp twine from hempCRAFT on Etsy.
To make the necklace, first cut two strands of the hemp twine, about 25 feet in length each. This proved to be way too much for my necklace, but I would rather have more than less. You can experiment with different lengths, if you prefer.
Place the two pieces of twine together, then make a simple knot in the middle. You should now have four strands of hemp twine to work with.
Push your thumbtack through your wall. If you don't want to put a hole in your wall, you can take down a picture frame and use its nail. You could also use a piece of balsa wood to make this necklace, but I found using this be very difficult to maneuver the long pieces of hemp twine.
This necklace is formed by a series of wraps and knots. To make the wrap:
- Grab one strand of the hemp twine with your left hand, and hold the other three strands in your right hand.
- Pull the single piece in your left hand away from the other strands, then bring it under and over the strands, pulling somewhat tightly.
- Let go of the three strands with your right hand then pick up the single strand using that same hand.
- Pick up the three strands with your left hand. Pull the single strand tightly and repeat, alternating between hands as you go along.
As you are wrapping, periodically push the wrapped twine up with your thumb and index finger. This will help to make sure that your wrap is tight.
Once you have about 3 inches of twine wrapped, grab all four strands of your twine and make a knot at the end of the wrap to keep it in place.
Repeat the above steps until you have a necklace length that you like.
Once you are finished, cut the extra, unwrapped portion of your hemp twine, leaving about 15 inches remaining.
Remove the twine from the wall, then grab the loose ends and insert it through your original starting looping.
You now want to close your necklace. To do this, take one of the four pieces of loose twine and wrap it around both of the other three twine pieces, as well as the starting loop that they are pulled through.
If you prefer, you can pin your necklace to a small piece of balsa wood in order to wrap it on a hard surface. This is optional though. You can do just as well by wrapping it only with your hands.
Once the cord is wrapped, insert the wrapped twine into a large-eye needle. Then, sew it back through the wrap you just made. This will secure the wrap.
The wrapped twine should now be at the opposite end of the other twine ends.
For additional security, and if you have enough twine left, you can sew the twine end through the nearest knot in your necklace, then sew it back through the wrapped previously made.
Once the wrap is secure, you can simply cut the remaining twine ends to complete your necklace. I decided, however, to braid the twine ends in order to incorporate it into the overall look of the necklace.
I like how it turned out. It also looks great when layered with other jewelry.


What a good idea! Your new necklace has an amazing color.
ReplyDeleteI also like your older necklaces, especially the leafy one. Very vintage! ;)
Thank you so much, Juci! Would you believe that I got that leaf necklace for under two dollars at a discount jewelry store? lol I couldn't believe it when I bought it. I love it! :)
Delete- David